Manage artwork
Upload the images your game shows, such as pieces, cards and boards, on the Art page. Each image has a name, and your game's code uses that name to show the image. Editors and admins can upload, rename and delete images. Players see your changes after you commit.
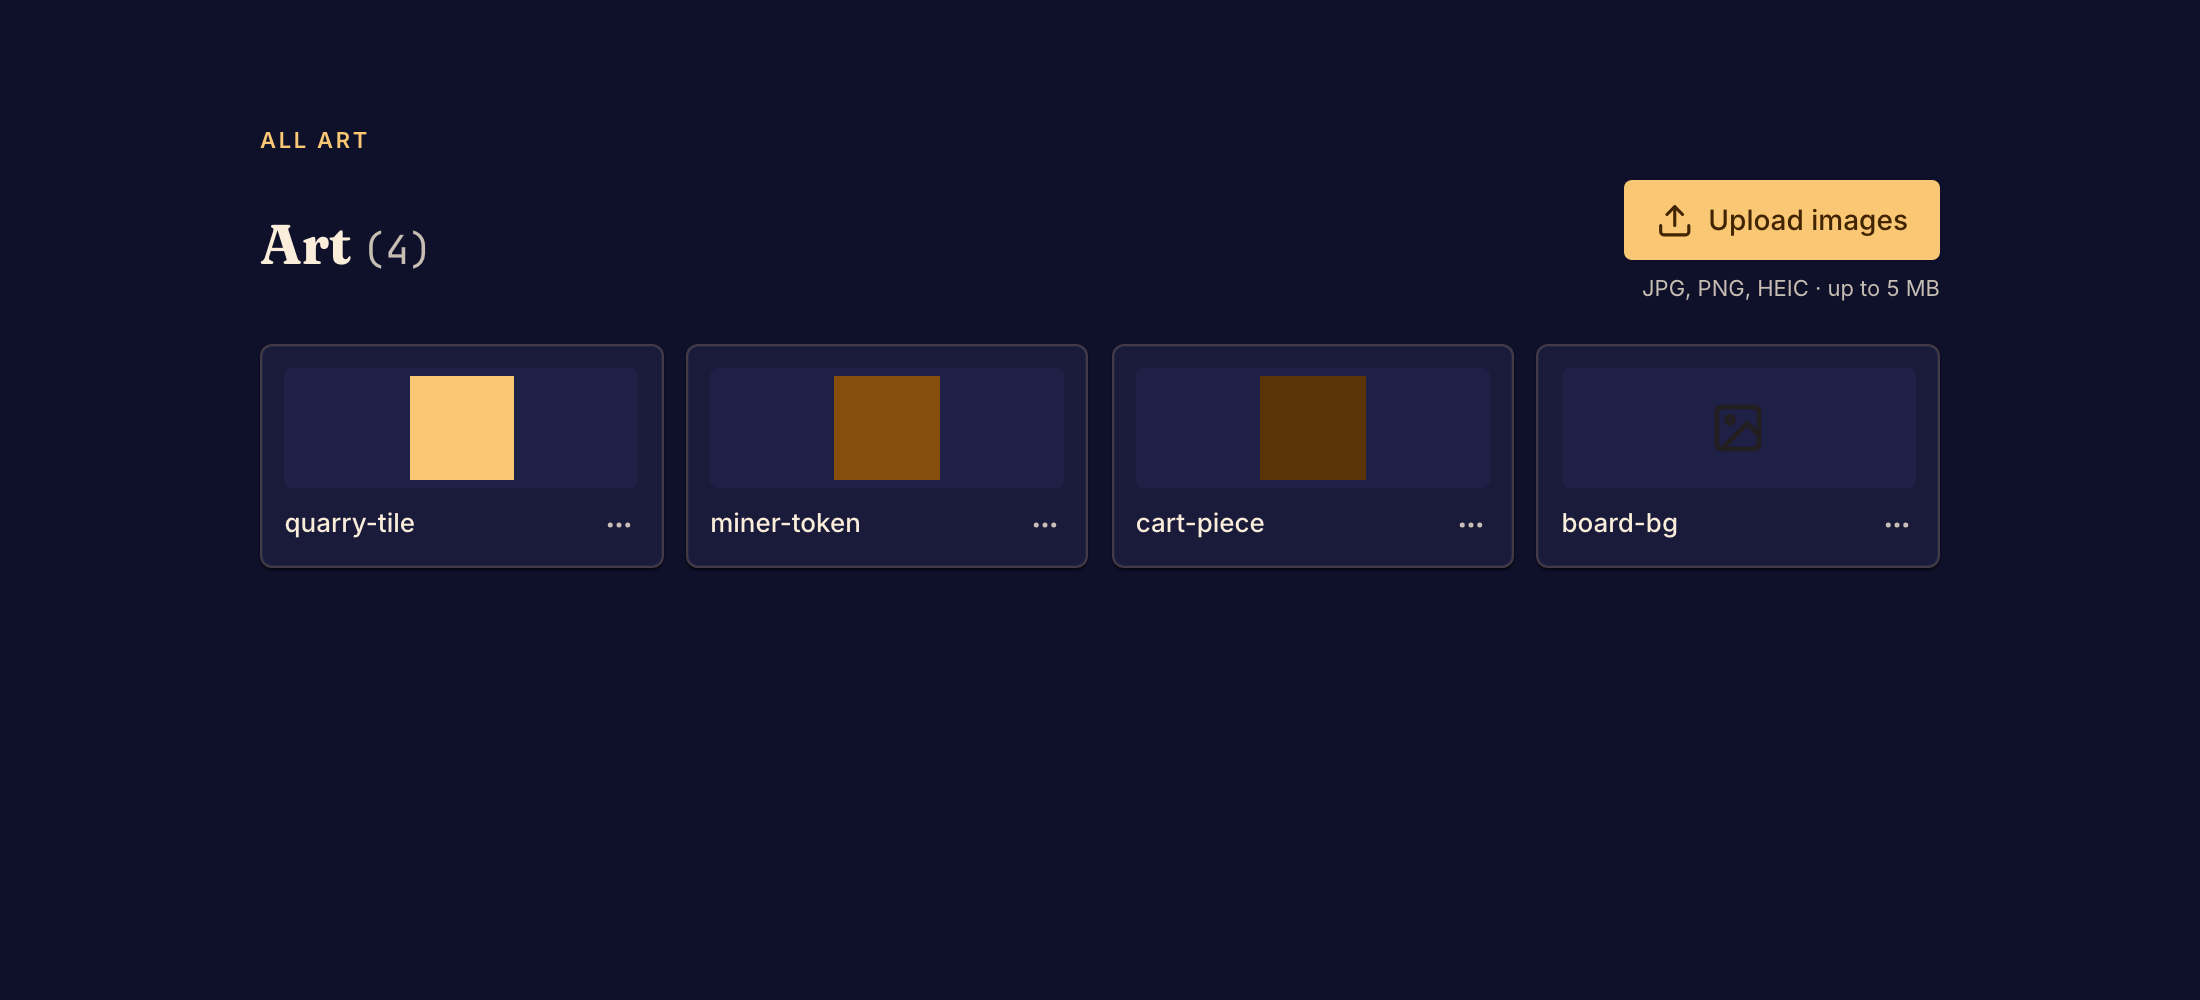
Add an image
- In the Studio sidebar, under Presentation, select Art.
- Select Upload images and choose one file: JPG, PNG or HEIC, up to 5 MB. Boardweaver makes the image's name from the file name and adds the image to the gallery.
- Make your game show the image. Ask your coding agent to use it, or change the code yourself. See Images and sounds for the stable framework, or Images and sounds for framework v3.
- Open Preview and check the image in the game.
- Commit a game version to give players the image.
Rename or delete an image
- Open the image's actions menu in the gallery.
- Select Rename or Delete.
- For a new name, use letters and digits only, and start with a capital letter, such as
KnightPiece. Two images cannot have the same name.
Your game's code uses the old name. After a rename or a delete, the game does not build until you update that code. The dialog names the code to change.
A delete removes the image from your working files. The last version you committed keeps it until you commit again.
Replace an image
Uploading a file with the same name does not replace an image. Boardweaver adds a second image with a new name. To replace an image, delete it, upload the new file, and rename the new image to the old name.
A coding agent can replace an image in one step. It uses the upload_art tool with the image's current name.
Cover and logo
The cover and logo that present your game are not on the Art page. Set them on the Marketing page. See Edit the game page.
If something goes wrong
Boardweaver shows "Couldn't upload that image". Check that the file is a JPG, PNG or HEIC image, then upload it again.
Next, add sounds or commit a game version.